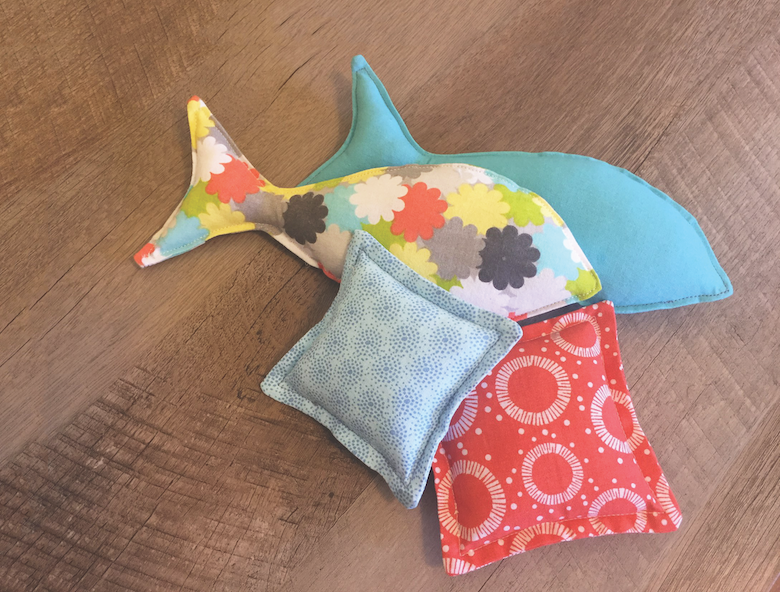
I always have lots of fabric scraps lying around, so I use them up by making toys for my cats and the cats at the shelter where I volunteer. I usually just do simple squares and rectangles, but I recently decided to try some trickier shapes — like fish!
If you know your way around a sewing machine, these toys are really easy to make — and your cats will love batting them around the house.
Here’s what you’ll need to make Catnip Kicker Toys:
- Sewing machine
- Scissors
- Thread
- Fabric Fabric-marking pen Iron
- Fiberfill
- Catnip
- Pencil or chopstick
Instructions
Make a template for your shape using either lightweight cardboard or poster board. For the squares, I just cut out a 4-inch square. For the fish, I found a template online, printed it out, glued it to the cardboard, then cut it out.
Place two pieces of fabric together, with the right sides facing each other, then use your template to trace your shape on the wrong side of the fabric.
Sew around the outline you just drew. For the fish I found it easier to just stitch on the drawn line than to cut the fabric fish first. Make sure to leave a space about 2½ inches wide, so you can turn it right side out. Back stitch at your stops and starts.
Cut out your shape, leaving a ¼-inch seam allowance. Trim any corners to make turning it out easier.
Turn out your shape, and use a pencil or chopstick to turn out the corners. Then give it a good pressing with your iron to make the corners nice and crisp.
Sew a 1/8 inch top stitch around the shape — make sure not to sew around the open space.
Stuff the shape with fiberfill and some catnip.
Once you’re pleased with the amount of stuffing, head back to the sewing machine and finish the 1/8 inch topstitch around the open space.
You might need to squish the shape a bit to get the fiberfill to settle and spread nicely.
Toss the toy to your cat, and let him bat away!
Read Next: DIY Recipe: How to Make a Cool Kitty Snow Cone
